Online editing can be hard, especially when you are not a designer. Luckily for you, many print companies, like HappyPrinting, offer an easy online editor. This makes designing that much more easy and it's completely free. The editor can be used for almost all our products. From business cards to flyers and from roll-up banners to sticker labels. In this blog, we will give you 5 tips on how to make the best designs using an online editor!
#1 Get inspired by existing templates
When you open a product page on our website and scroll down, you will see the option to open the editor. Opening this can be overwhelming, because we offer many different choosable templates. Instead, take it easy and scroll around for a bit, it might inspire you! Always remember, creating a good design takes time. You could also take a look at designs of other people on the internet for some inspiration!
#2 Choose a background
If you click on the first tab on the left you can choose between different backgrounds. You can also look for backgrounds or additional pictures in the ‘’search’’ option. Just type in whatever you want and it will appear. You can even edit the pictures. Choose a different filter or make the image transparent. Anything is possible!
#3 Upload pictures
Do you want to have a business card or flyer that no one else has? Use the editor to design your own. If you open the editor, you will see that you can upload your own photos. These can be uploaded from your computer and even from your phone. All you have to do is scan the QR-code and then you are ready to go. It is also possible to import your photos from Facebook and Instagram. Online editing has never been so easy.
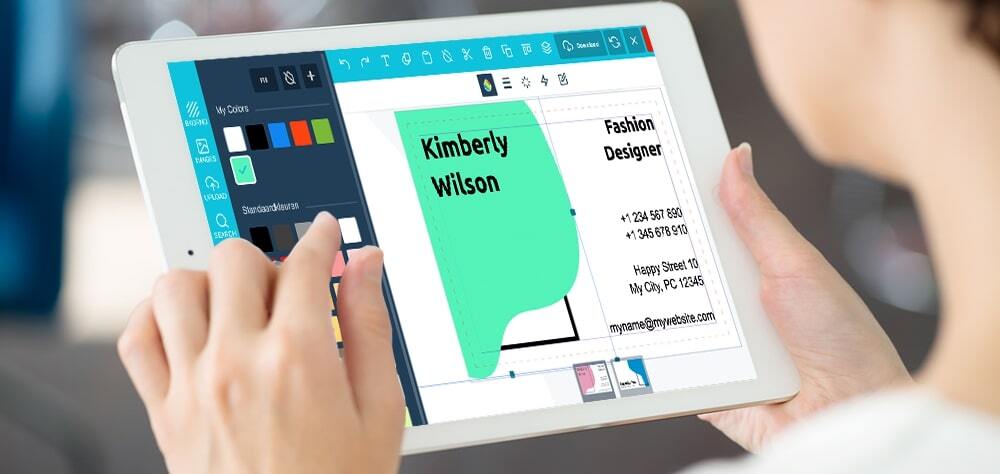
#4 Stay inside the lines
If you want to add some text, make sure it stays inside the purple lines. Otherwise, chances are that it will not be printed the right way. If you upload a background, be sure to cover the whole template. Yes, it is true that you will cross the cutting lines, but if you do not cover the whole template it can happen that your printed cards will have a white border. However, make sure the small icons do not cross the cutting lines!
#5 Do not forget to make the backside of the card!
This may seem obvious, but it is easy to forget! You can switch between the front and the back at the bottom of the page.
Have fun designing and if you have any questions after reading this article or you need our personal assistance, please feel free to contact us!
We print, You smile!